
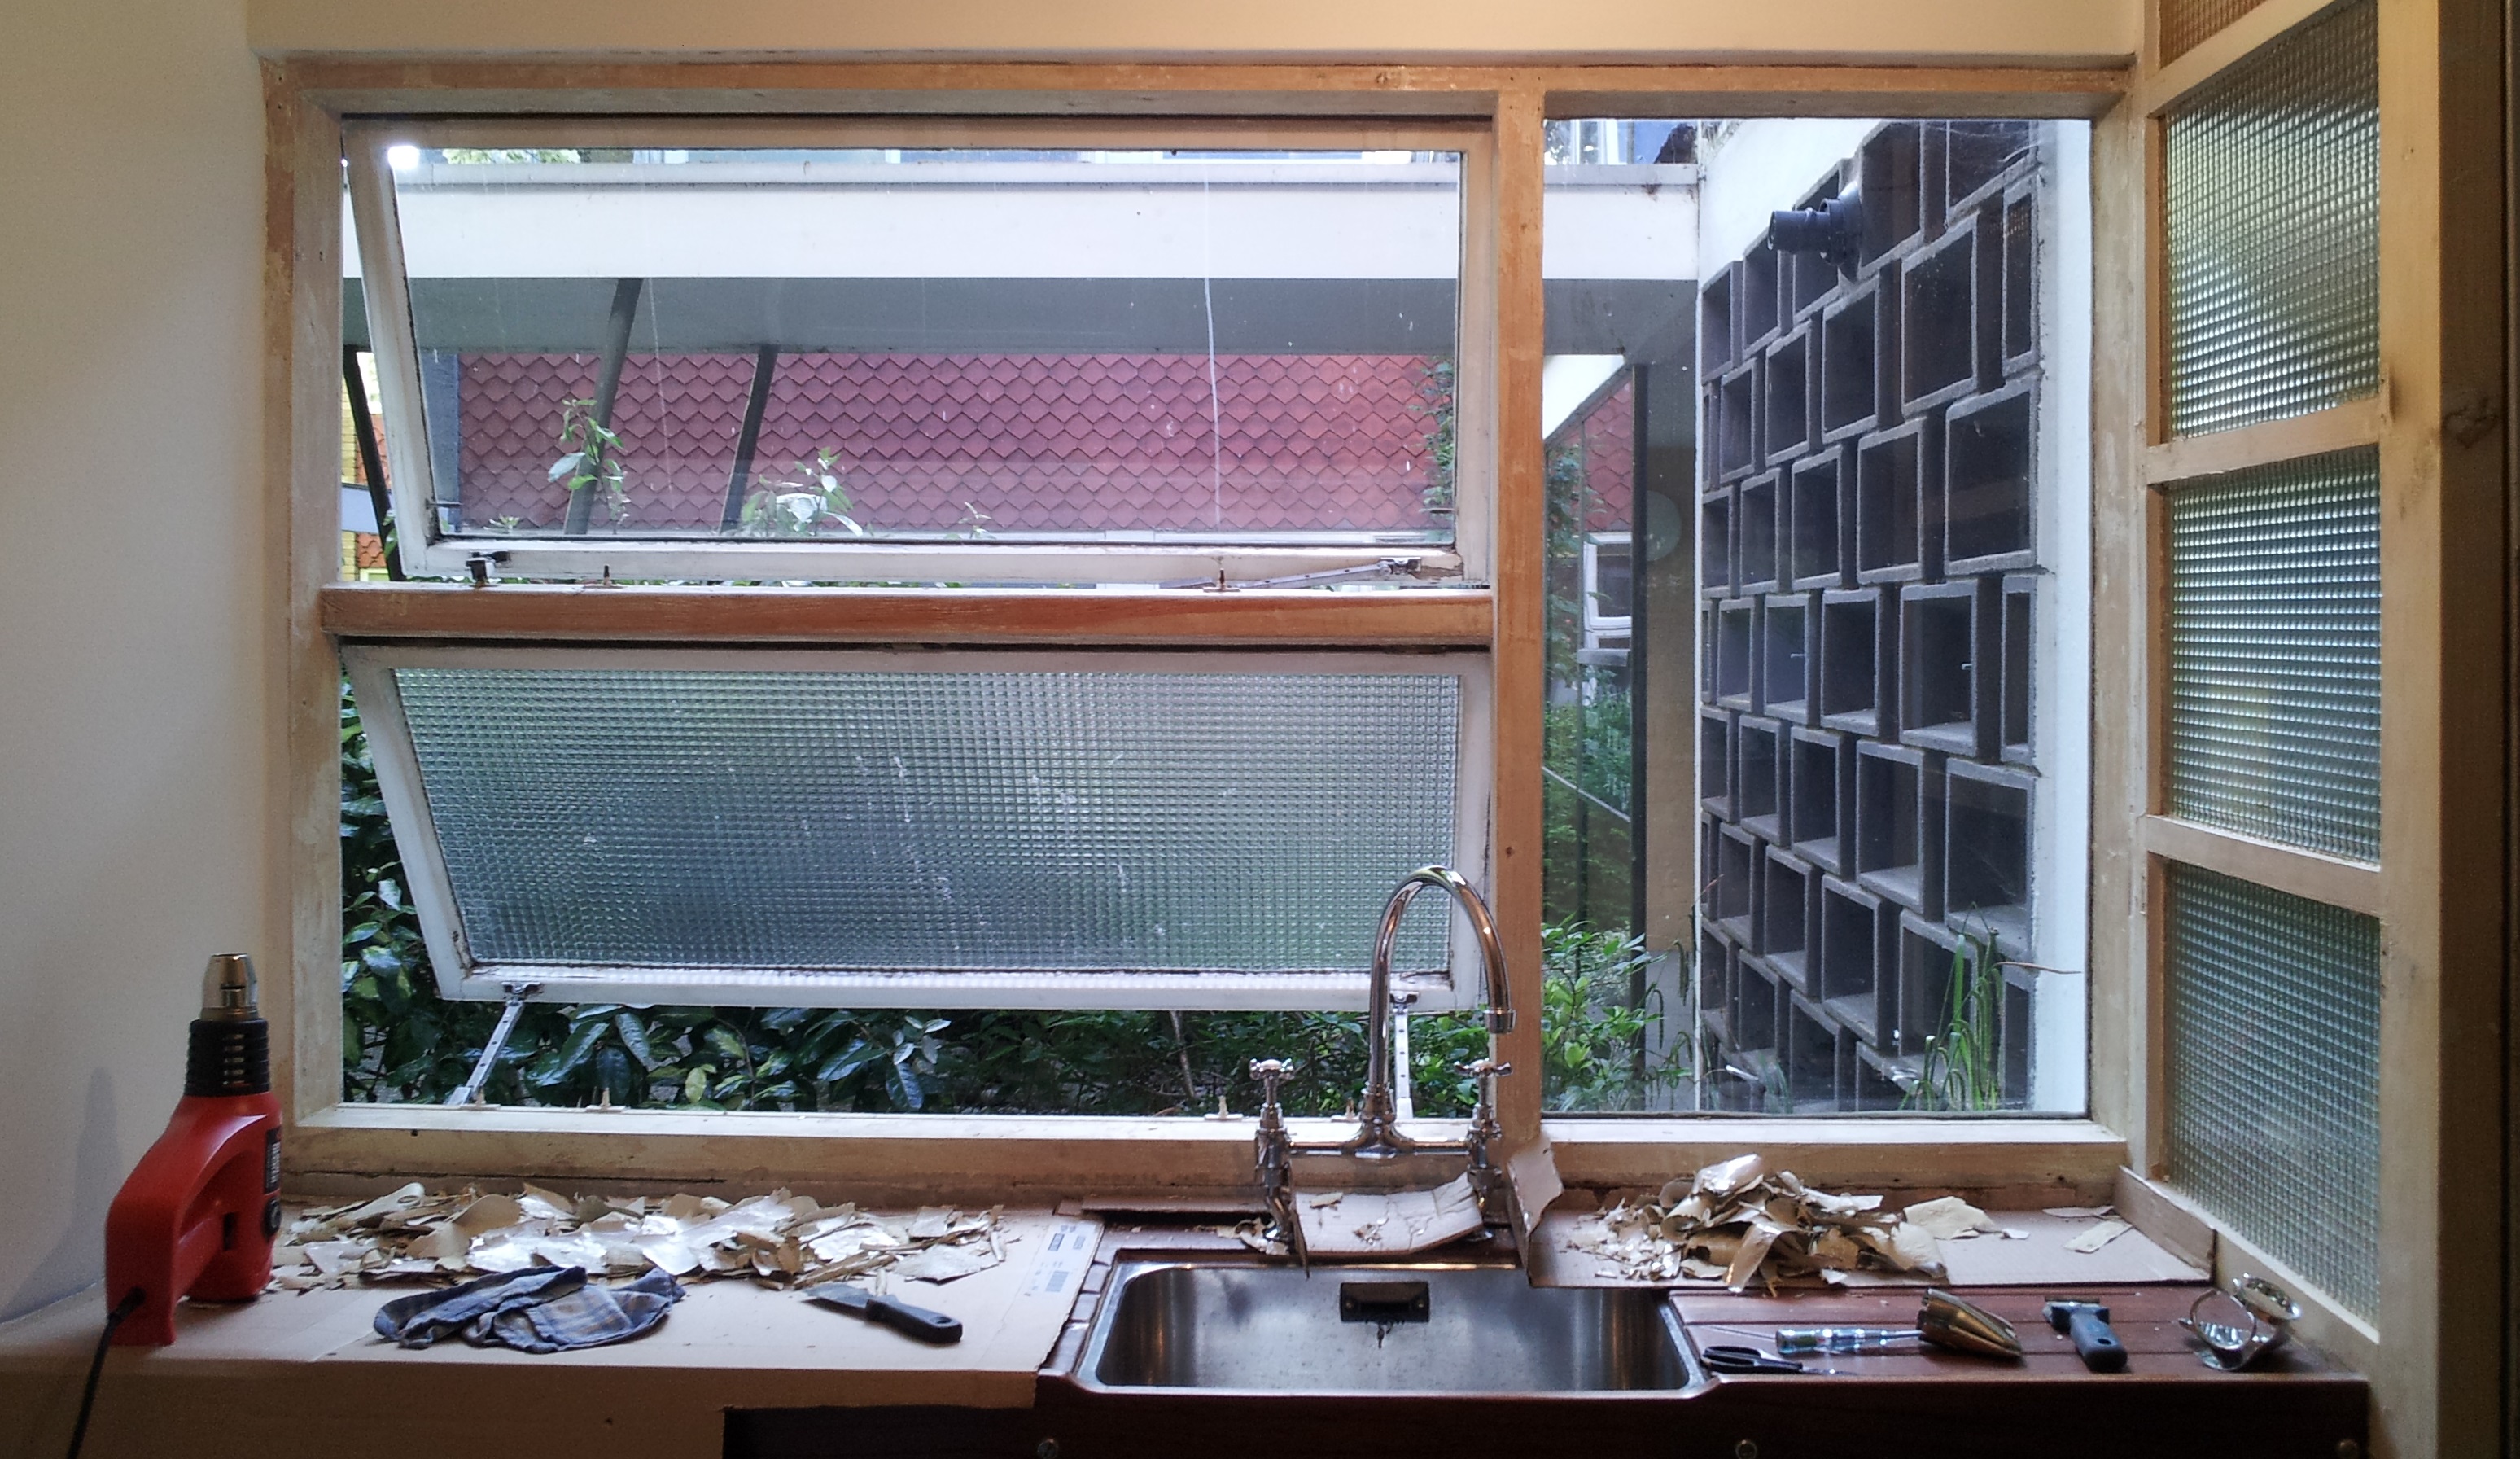
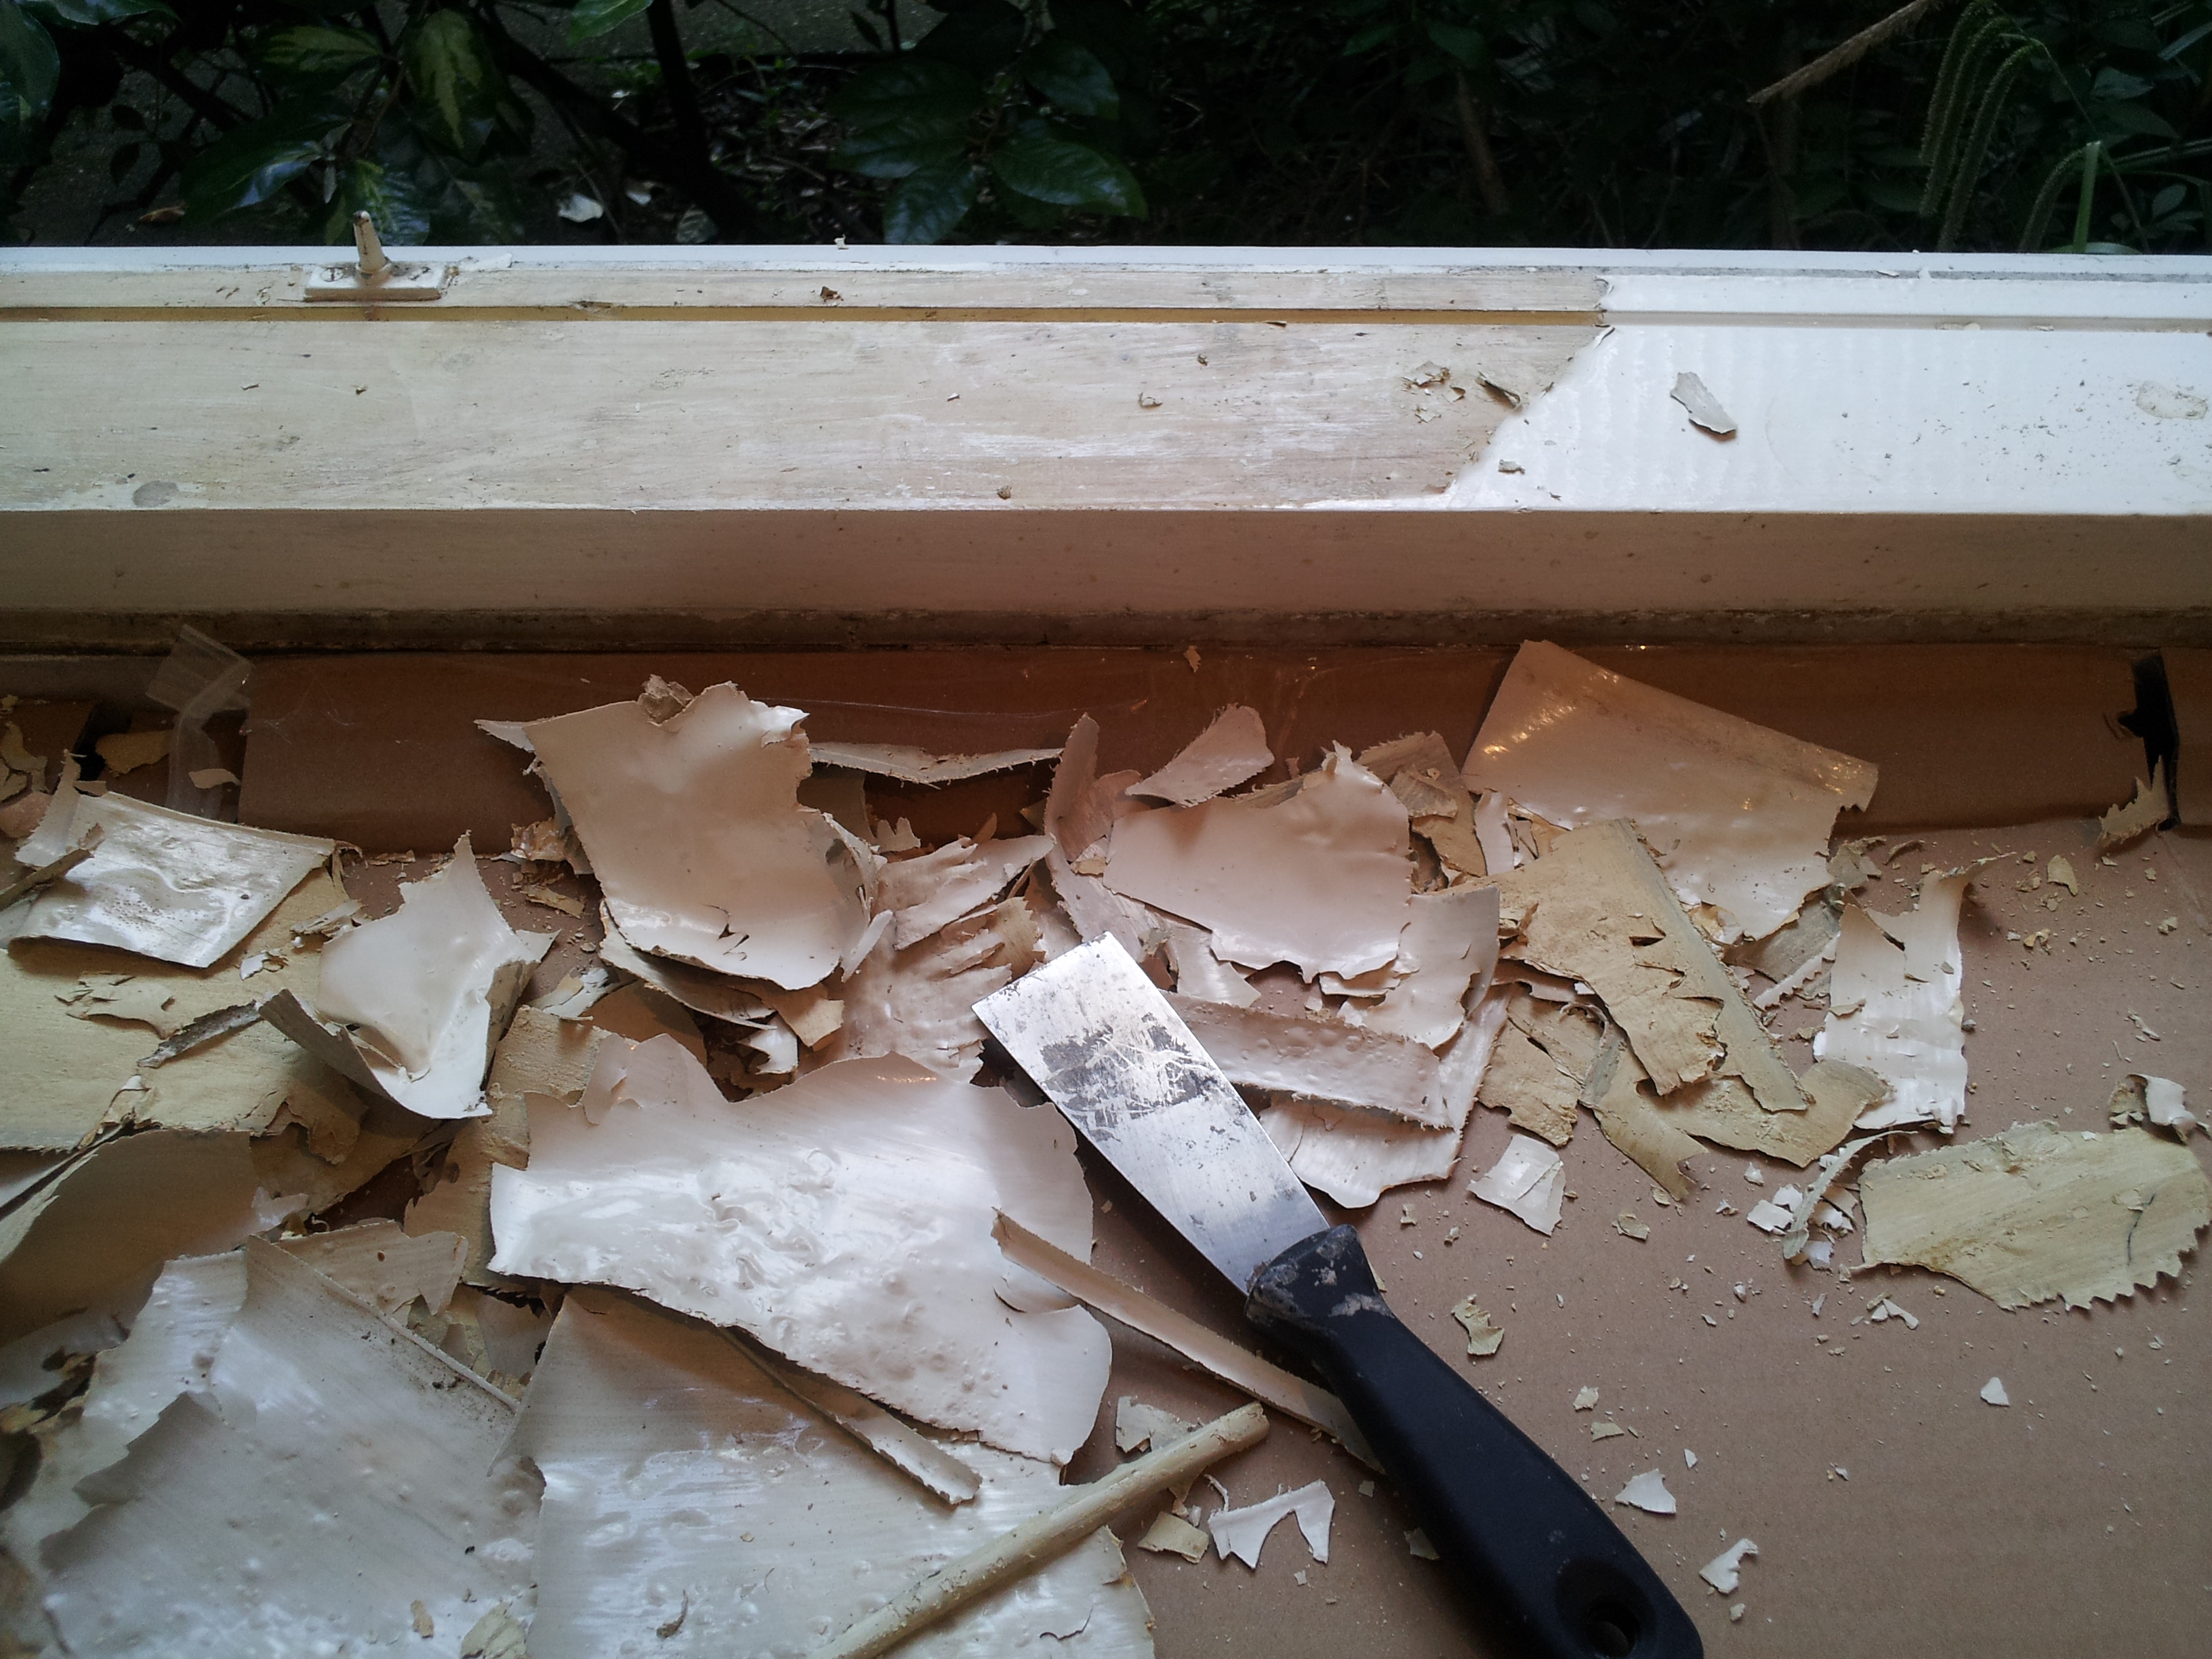
I’ve written this blog a thousand times since posting the last one. Over and over in my head; littered in note pads; hacked out on keyboards… Each one peppered with different flavours of experience and time stamped with incidents relevant to that moment. They started descriptively with no stove and old smelly carpets before swirling for months in renovation dust. They lifted like scraped layers of paint bubbling off window frames and hung like splattered washing up bubbles popping on the side of the bath as dishes dried so out of place away from the kitchen when there just was no kitchen sink. As the months stretched apart, writing a blog worthy of breaking the silence became impossibly hard. And so their fates were all the same – shovelled up and discarded like the hundreds of heavy duty bin bags worth of rubble that have been carted to the tip over the last eighteen months.
The baking has been somewhat of a constant – apart from the solid ten month stretch without a stove where we lived on salads, one pot wonders (cooked on a hotplate balanced on whatever surface was available), microwave meals and paint fumes. The first thing I baked (or tried to) in the sparkly new oven was totally inedible. What was to be an imposing Schwarzwälder Kirschtorte for Mother’s birthday emerged an unrisen, dense, burnt-on-the-outside and claggy-on-the-inside affair. I still stuck candles in it. We sang and blew them out before crumbling the cake for the birds.
I’ve always believed that baking is like riding a bicycle – a skill that you never lose – but I think I’ve changed my mind. It takes practice. Falling into a rhythm of measuring and mixing, balancing steps and timing – and plain simple following a recipe – takes practice. And I had lost it. Being able to accurately operate the oven also helps. I can’t describe the indignation when my other half quietly suggested that perhaps I had been using the oven on entirely the wrong setting. Using only the bottom element will undoubtedly make a perfect environment for unrisen, dense, burnt-on-the-outside and claggy-on-the-inside cake.
This one, thankfully, was more successful. I have been looking for a perfect South African milk tart recipe for longer than I care to remember. When I say perfect, I don’t mean traditional (because recipes for traditional milk tarts can be found in abundance), I mean one that tastes just like the milk tarts you can buy in any South African supermarket. Delicately milky and punctuated with cinnamon and vanilla – and without even a hint of eggyness. This is a milk tart, not a custard tart.
For this tart I used a delicate, short, sweet pastry – although you can use any you prefer. The filling is an amalgamation of various recipes in an attempt to create the nostalgic one I have in mind.
pastry
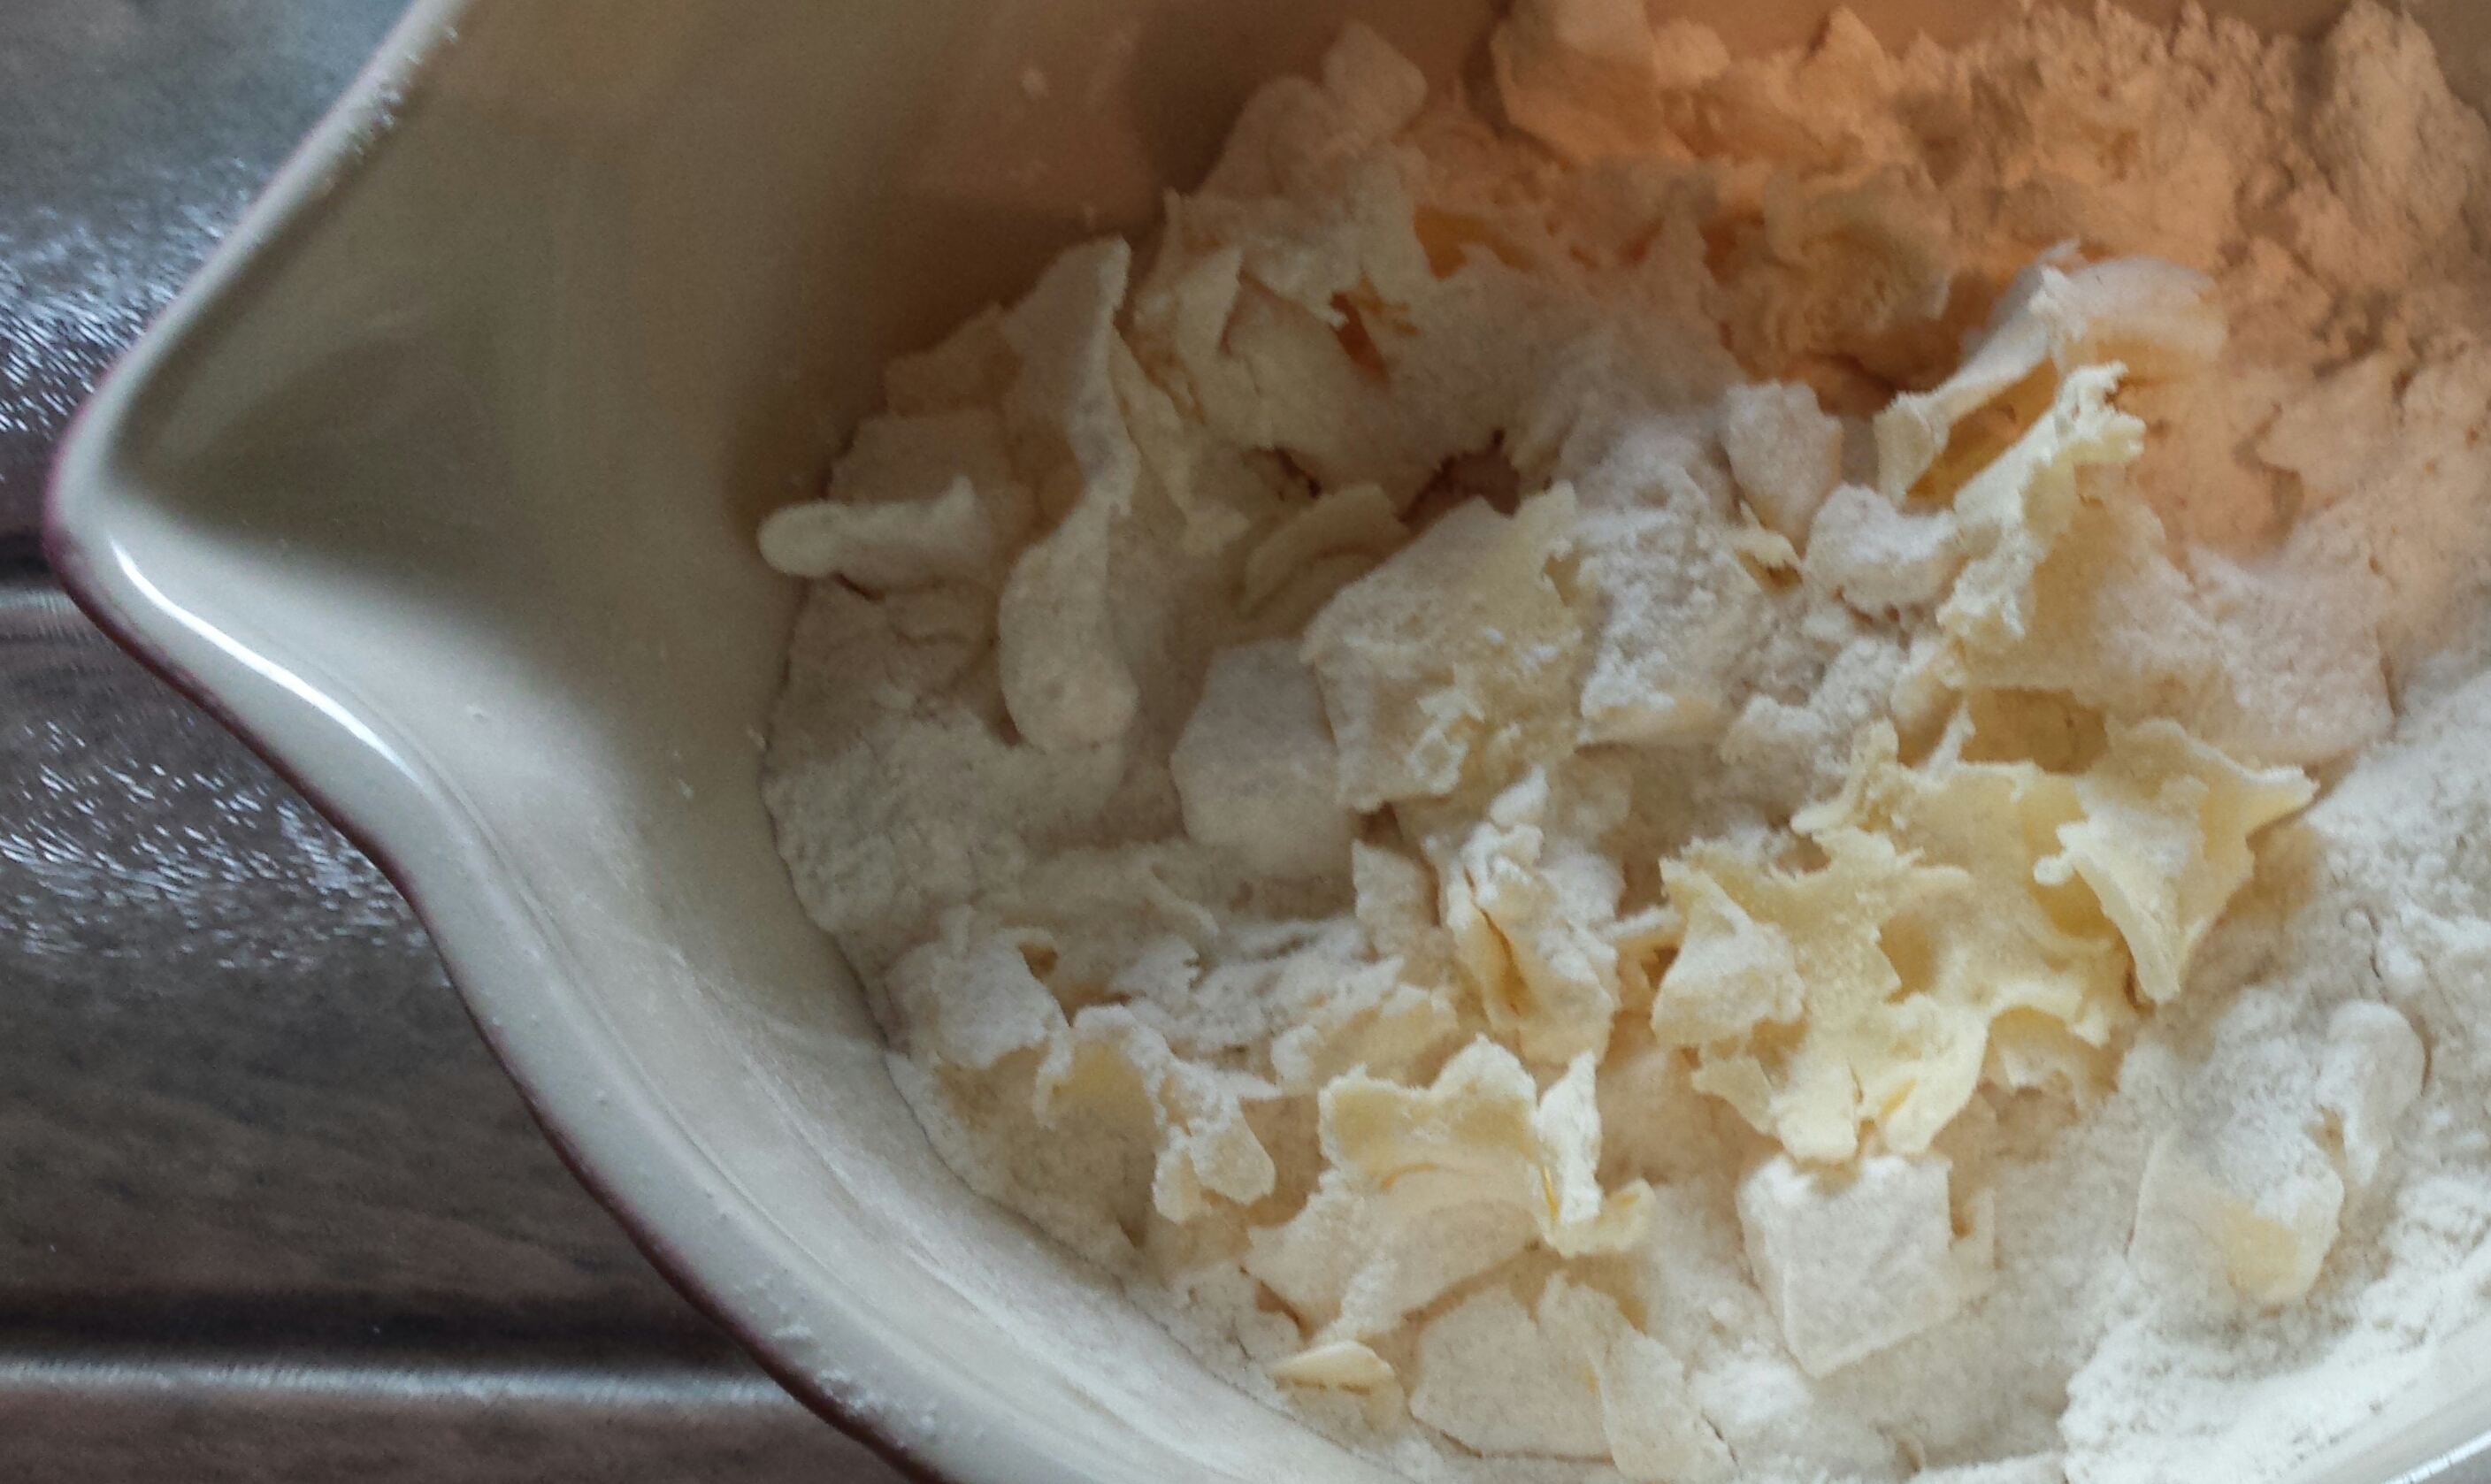
Sift the flour into a large bowl and make as big a well in the middle as you can. Sift the icing sugar and salt into the well. Cut the chilled butter into small cubes and add to the icing sugar. With your fingertips gently cream the butter into the icing sugar. Add the egg yolks and work them gently into the sugar butter mixture with your fingertips.

Still using your fingertips, little by little work the flour delicately into the mixture until it comes together as a dough. Remove from the bowl and using the palm of your hand push the dough away from you three or four times until it is completely smooth. Roll it into a ball and refrigerate for about an hour or until ready to use.
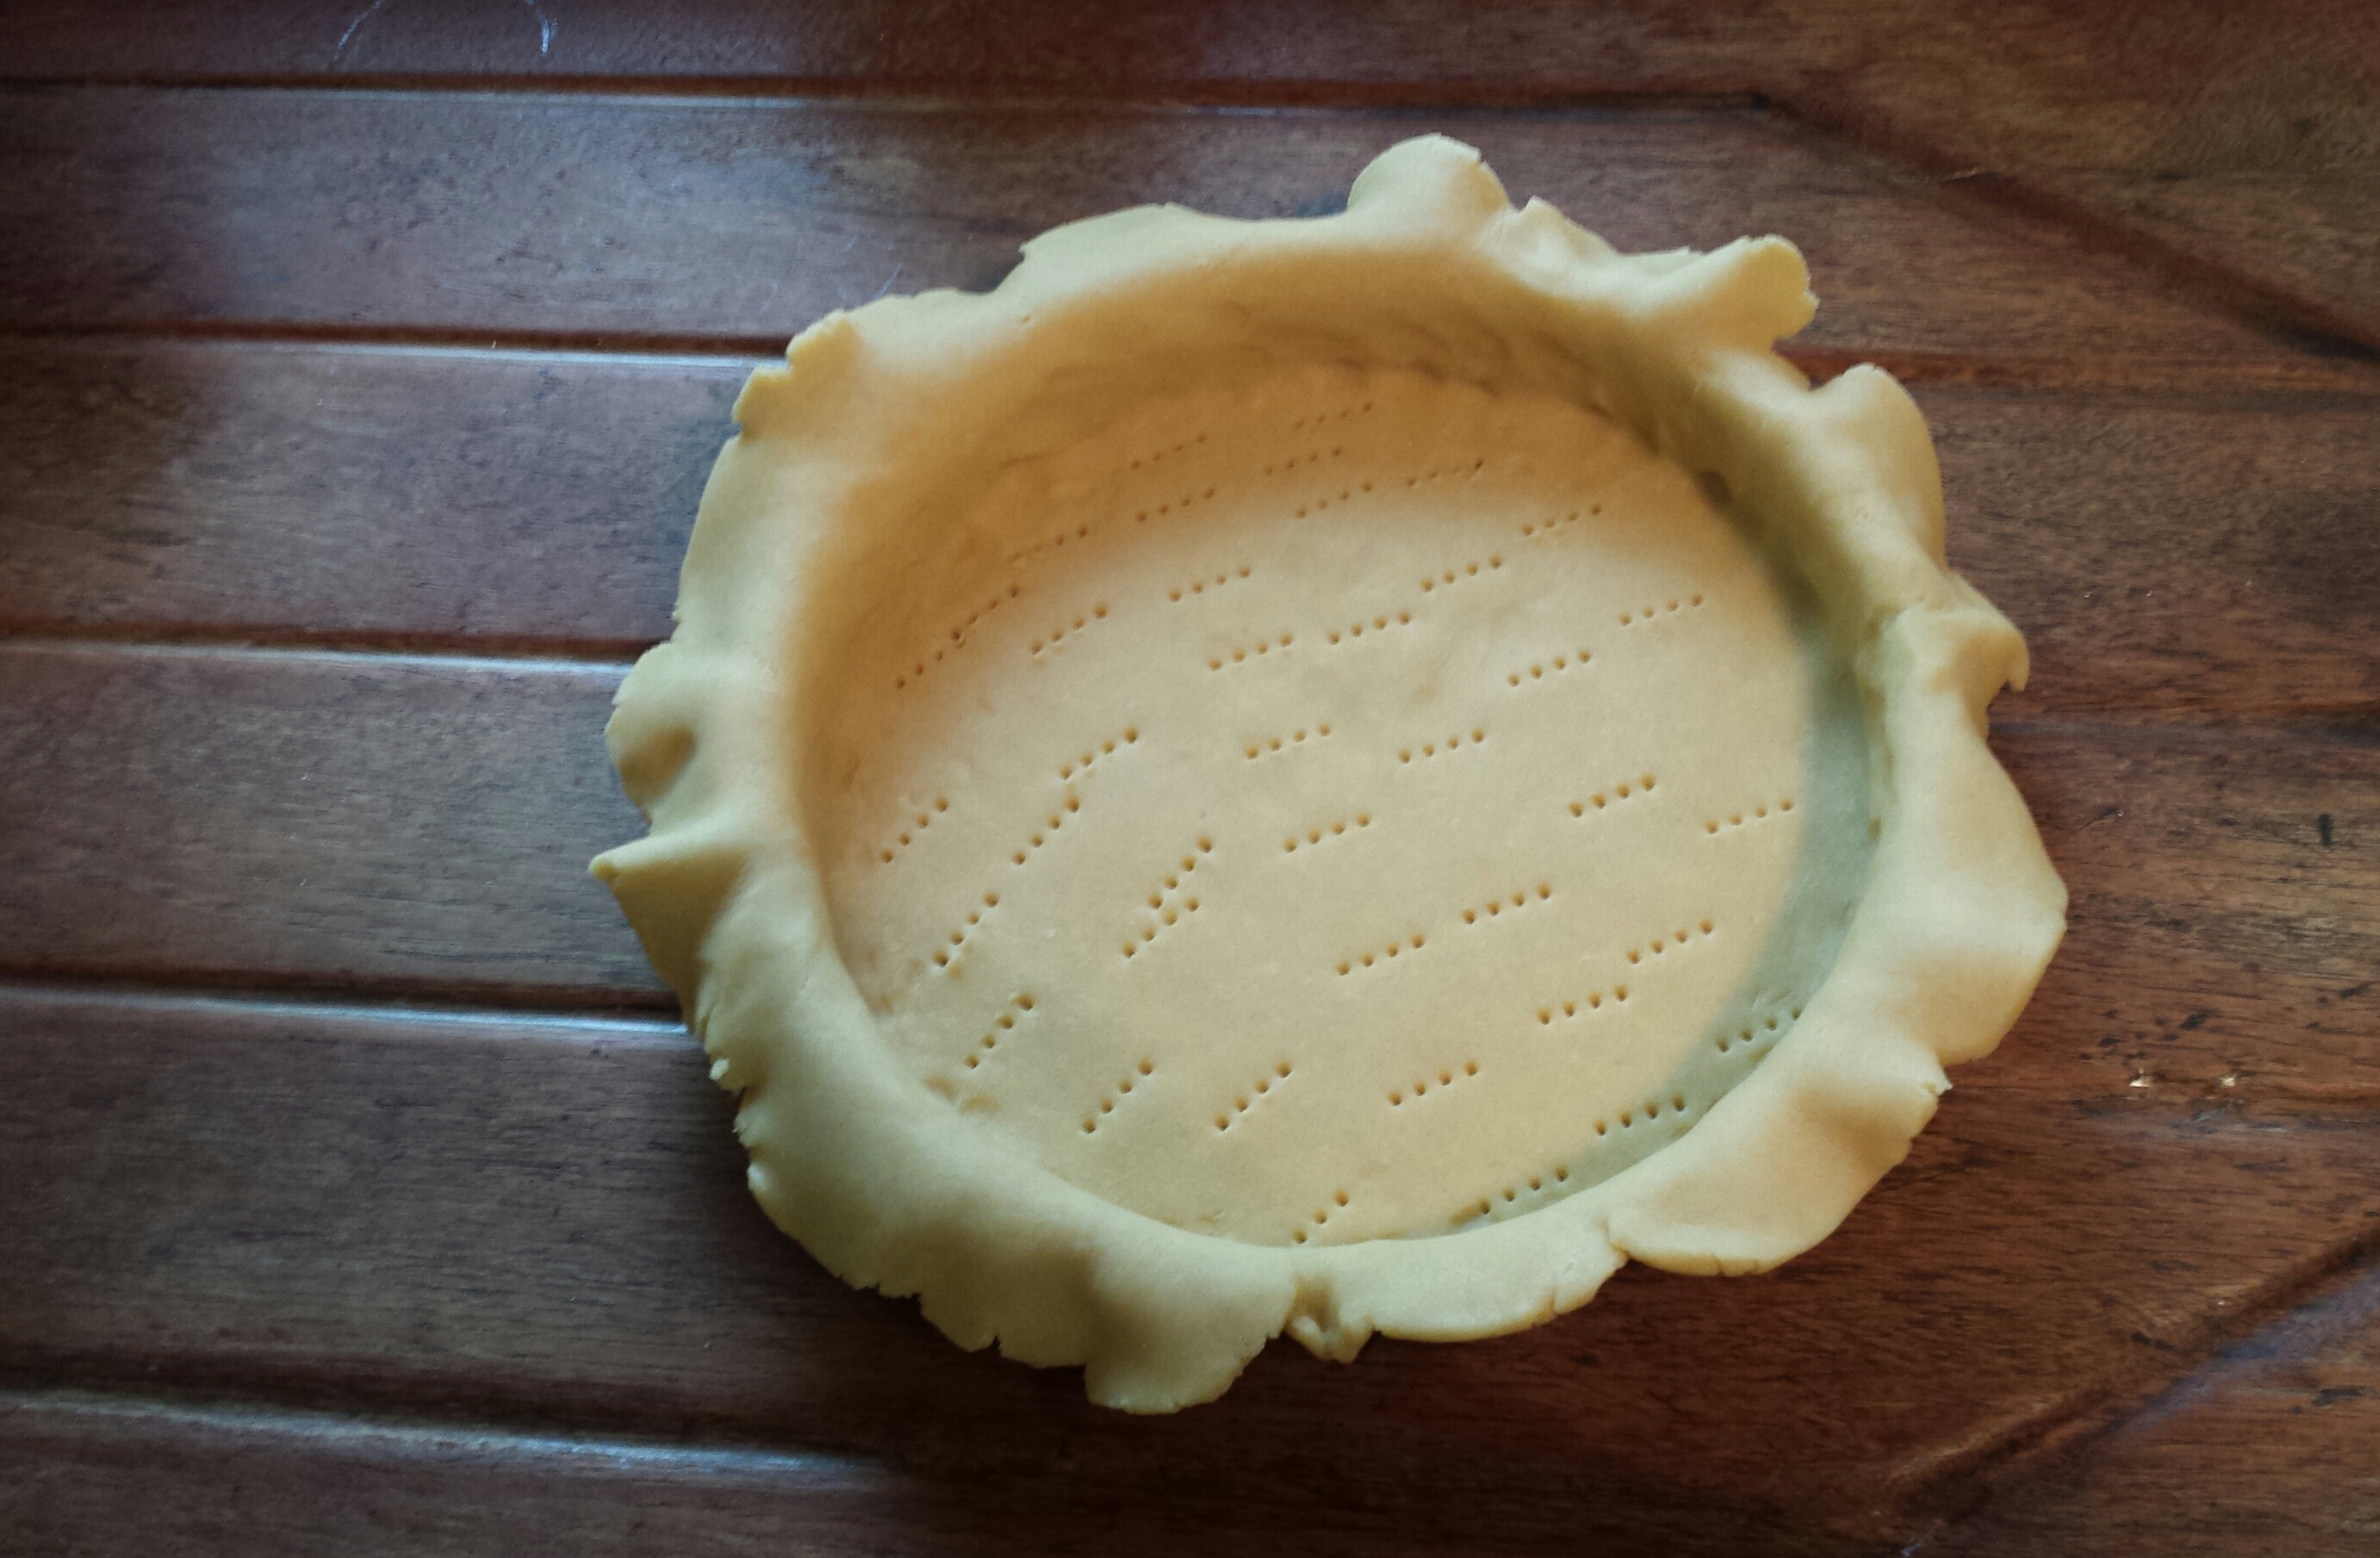
Preheat the oven to 190°C (170°C in a fan oven). Grease a tart tin with butter (I used a 10″ tin, although you can use a slightly bigger one as I had some tart mixture left over). Roll the dough out to about 3mm thick and transfer to the tart tin. Allow the edges of the pastry to hang over the edge of the tin until baked as it will shrink. Prick the pastry with a fork.
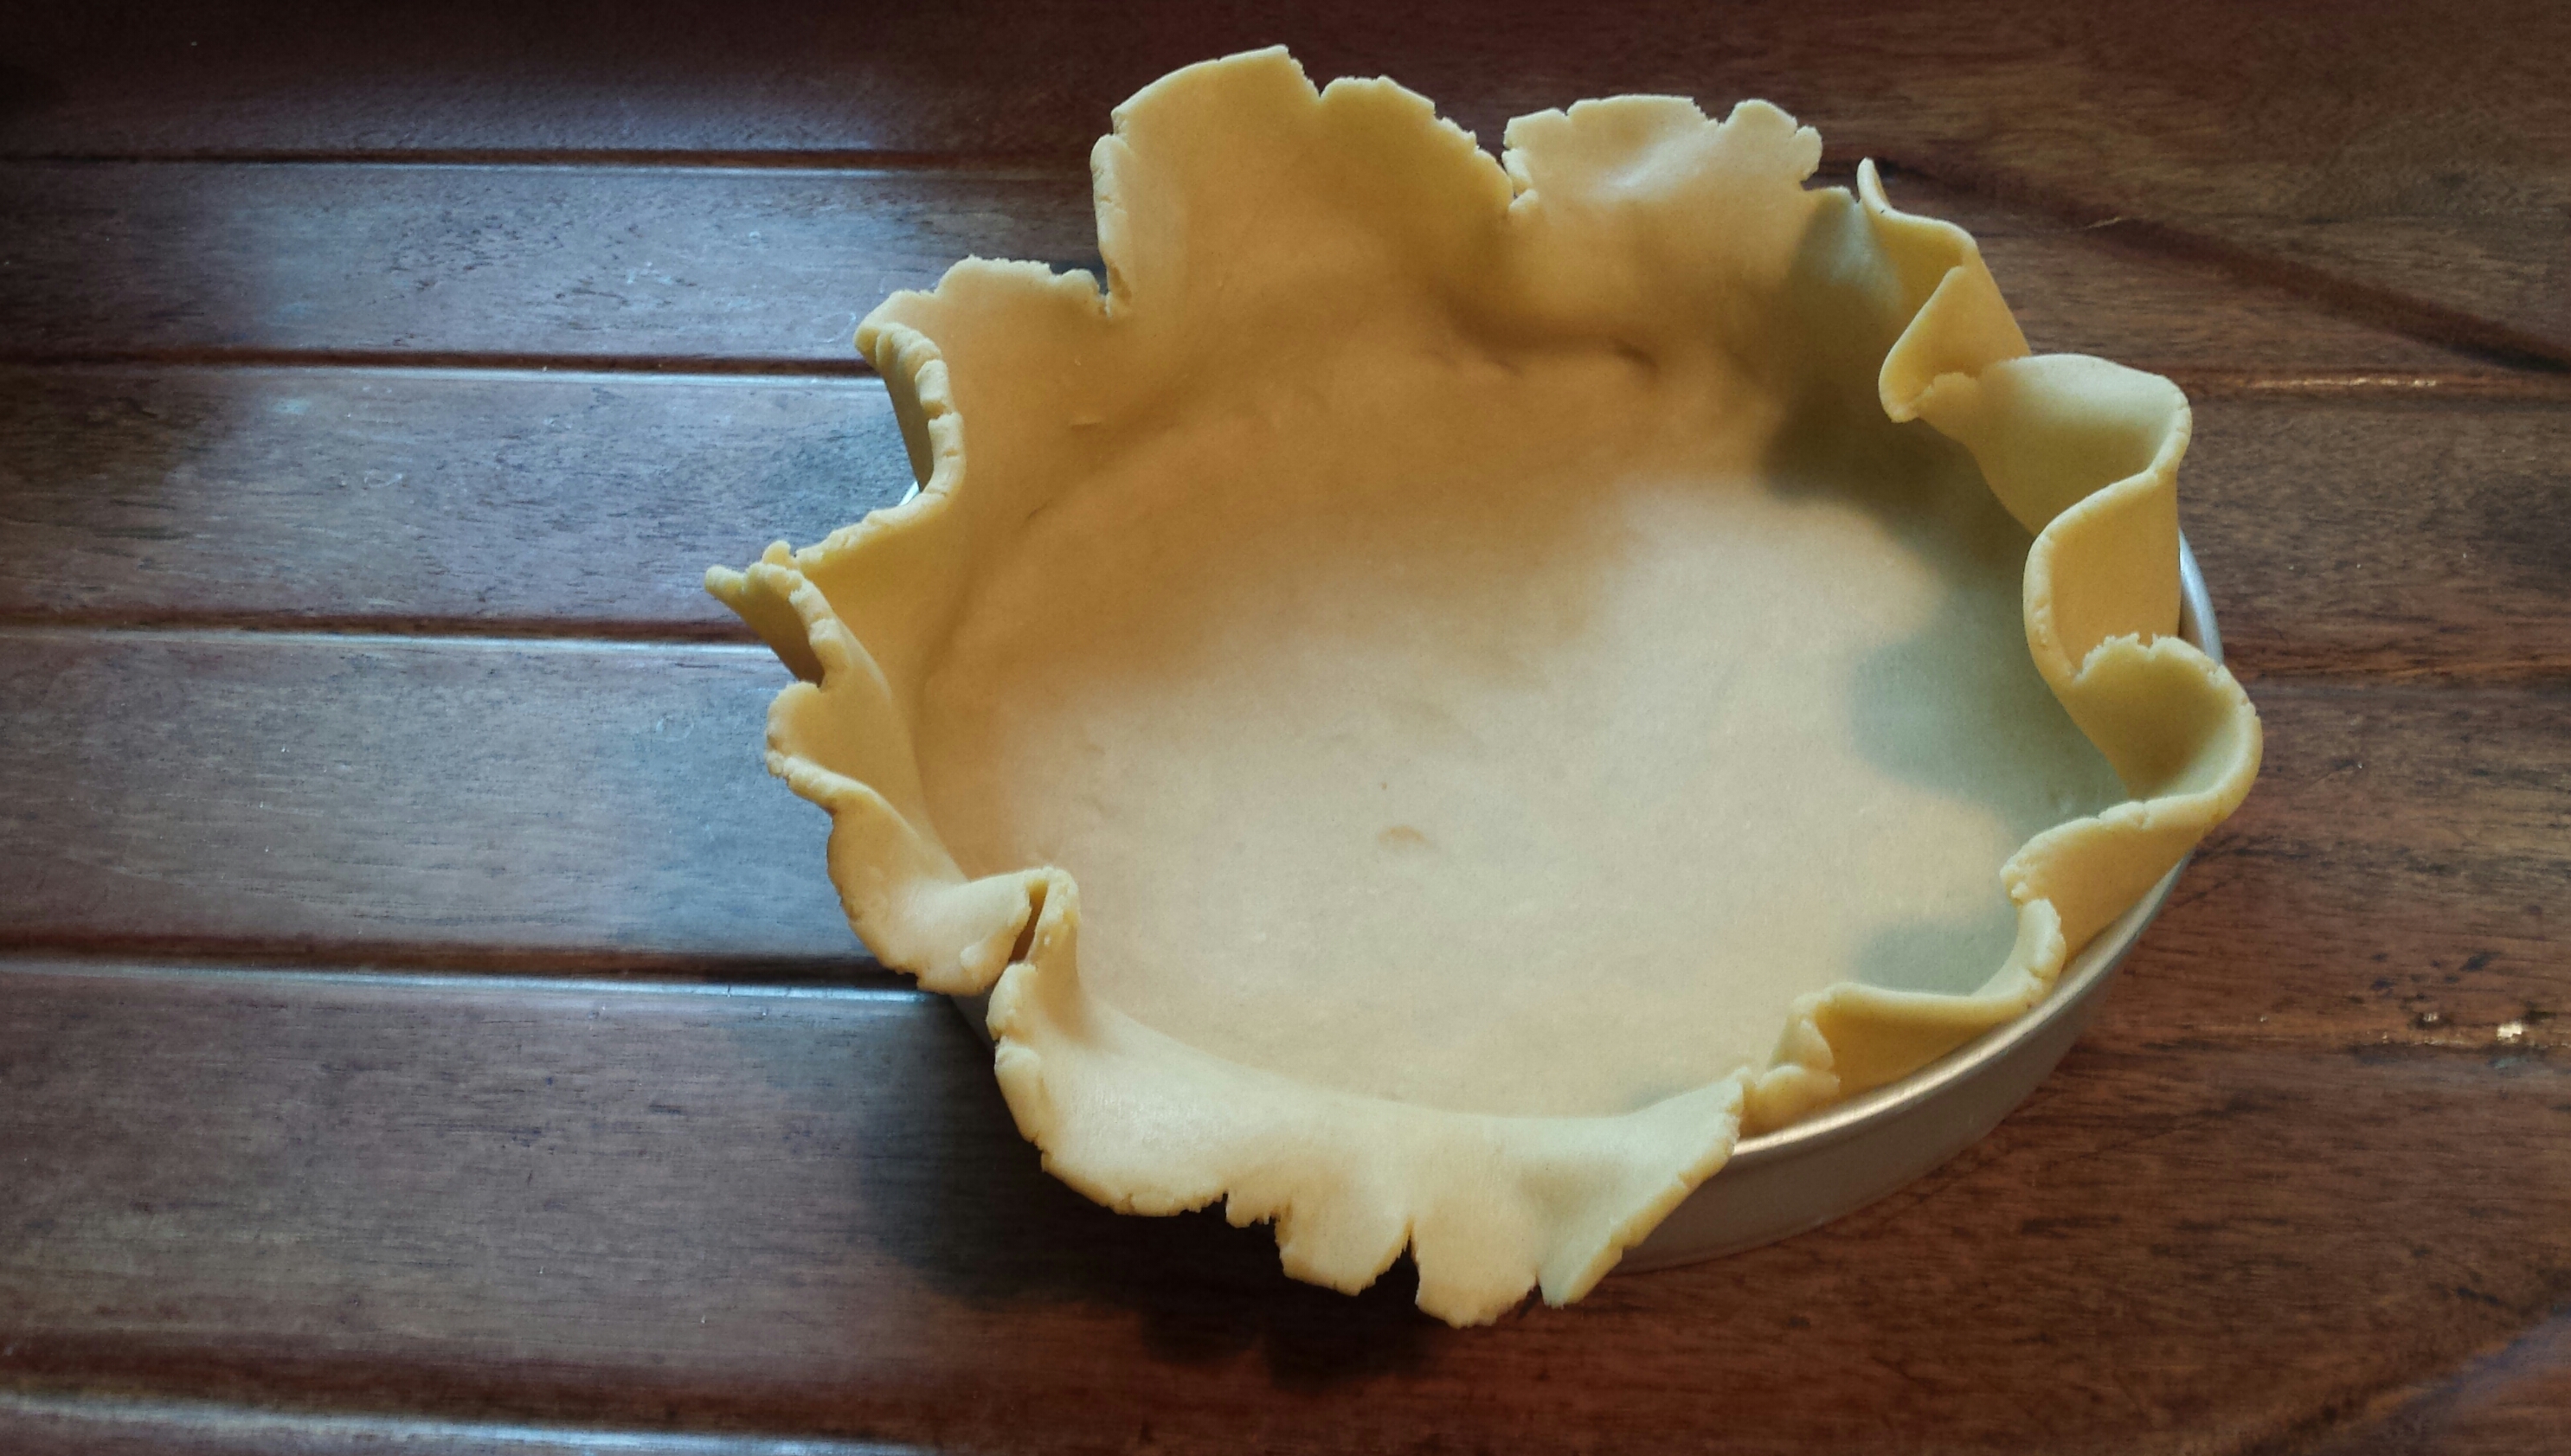
To blind bake the pastry, start by scrunch a piece of grease proof paper into a tight ball, unravel it and place it over the dough before filling with either ceramic beads or coins. Bake for 25 minutes, remove the grease proof paper and ceramic beads/coins and bake for a further 10 to 15 minutes until golden. Remove from the oven and gently cut the overhanging pastry at the edge of the tin while it is still hot (this will make it easier to do).
milk tart filling
Bring the milk to the boil in a medium saucepan. While the milk is heating, in a medium bowl, beat the eggs well before adding the sugar and beat until well combined. Add the salt, plain flour and cornflour and mix well. Take the milk off the heat as it starts and boil, and while still beating the egg mixture, slowly add the hot milk.
Return the mixture to the saucepan and over a medium heat whisk continuously until the mixture thickens. Take off the heat and add the butter and vanilla. Stir until well combined and then pour into the pastry case. Allow to cool and then refrigerate to fully set. Sprinkle with cinnamon and serve.


June 16th, 2014 at 22:09
Lekker!
June 19th, 2014 at 20:39
Hi Gudrun – I have just read your blog and recipes. I think you know me, I have two dogs and three cats, and live near you. Joyce is one of your neighbours.
I think you recipes look wonderful.
Sorry about the mess you started off with, and now you have the scaffolding!!
Best wishes
Vikki
June 20th, 2014 at 12:38
Hi Vikki,
Thank you very much and what a lovely surprise to get a comment from you on here! How on earth did you find my blog?
The mess we started off with, and time it’s taken to change has been so worthwhile – we’re so happy living here.
G
April 11th, 2015 at 14:37
Oh my word, Dr Gudrun strikes again! Best milk tart I have ever ever ever tasted. I have been using my mom and grandmothers recipes, but nowhere near as good as this one. Thanks for another amazing recipe.
April 11th, 2015 at 14:39
And PS, done even get me started on how amazing the pastry is. Seriously! So Good!
April 15th, 2015 at 14:21
Busy making a milk tart and just encountered this recipe. 🙂
June 18th, 2020 at 04:38
Сайт forex club http://homehe.ru/Найти-трейдера-Вест-Бей